









































WONDERLAND

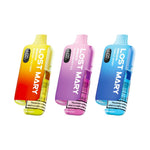
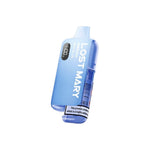
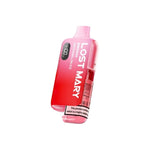
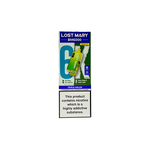
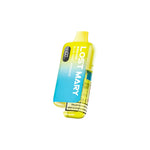
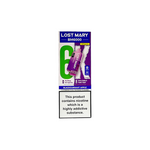
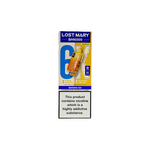
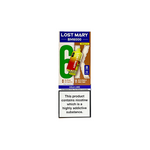
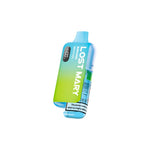
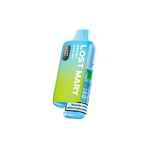
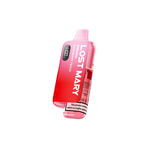
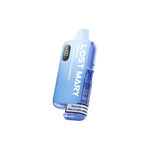
20mg LOST MARY BM6000 Refillable Pod Kit - 6000 Puffs
Load image into Gallery viewer, 20mg LOST MARY BM6000 Refillable Pod Kit - 6000 Puffs

20mg LOST MARY BM6000 Refillable Pod Kit - 6000 Puffs

£9.50
people are viewing this right now
sold in last hours
In stock
Size Guide
Only 19 item(s) left in stock

Question

Question

Shipping info

Shipping info

Return Policy: We will gladly accept returns for any reason within 30 days of receipt of delivery.

Availability: Ships anywhere in the United States

Processing Time: Allow 3-4 business days processing time for your order to ship.

Order in the next hours minutes to get it between and
Guaranteed Checkout
20mg LOST MARY BM6000 Refillable Pod Kit - 6000 Puffs
£9.50
Cola

SALE OR RETURN GUARANTEE available for this product!
Return within 120 days if unsold (see terms)

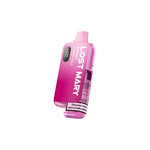
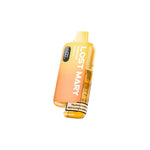
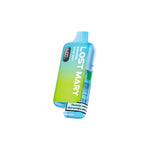
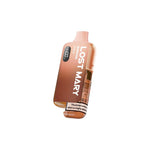
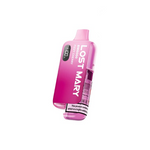
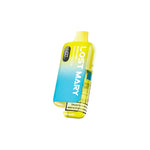
Experience vaping redefined with the LOST MARY BM6000 Refillable Pod Kit. This innovative device offers an impressive 6000 puffs, ensuring long-lasting enjoyment. The kit features a convenient refillable pod system, allowing you to easily replenish your vape juice with up to 10ml of your favourite flavours. Powered by a 20mg nicotine strength, the LOST MARY BM6000 delivers a smooth and satisfying vaping experience. Enjoy the freedom and flexibility of a refillable system combined with the extended puff capacity you crave. The LOST MARY BM6000 is the perfect choice for vapers seeking convenience, performance, and flavour.

Specifications: 

  • Up to 6000 Puffs
  • 10ml E-Liquid Bottle Included
  • OLED Display
  • 650mAh Battery
  • Mesh Coils
  • MTL Vaping
  • Compatible With Lost Mary BM600 Pod Kit


Flavour: 

  • Acai Berry Blueberry
  • Acai Berry Lemonade
  • Banana Volcano
  • Blackberry Ice
  • Blue Razz Gami
  • Blue Razz Lemonade
  • Blueberry
  • Blueberry Cherry Cranberry
  • Blueberry Sour Raspberry
  • Cherry Cola
  • Cherry Ice
  • Cherry Peach Lemonade
  • Cola
  • Double Apple
  • Fizzy Cherry
  • Fruit Punch
  • Grape
  • Hawaii Sunrise
  • Juicy Peach
  • Kiwi Passion Fruit Guava
  • Lemon Lime
  • Mad Blue
  • Mango
  • Menthol
  • Miami Mint
  • Pineapple Ice
  • Pink Lemonade
  • Raspberry Peach
  • Strawberry Ice
  • Strawberry Kiwi
  • Strawberry Raspberry Cherry Ice
  • Strawberry Watermelon
  • Summer Grape
  • Triple Berry
  • Triple Mango
  • Watermelon Ice

Customer Reviews

Be the first to write a review
0%
(0)
0%
(0)
0%
(0)
0%
(0)
0%
(0)

For orders placed before 7am AEDT, we endeavour to process the same business day. Orders placed after 11am AEDT will be processed the next business day.

During sale events and new collection launches, there may be a slighly longer processing time.

All Auguste orders are hand-picked and packed with love from Byron Bay, Australie.

You can choose between a refund or a credit note on full priced items.

  • Item(s) must be returned in their original condition and packaging: unworn, unwashed and with all tags attached.
  • Earrings cannot be returned due to health and safety reasons.
  • Return shipping methods and associated costs are the responsibility of the customer.
  • Sale items can not be refunded for change of mind.

Recently Viewed Products

Are you over 18 years of age?

The content of this website cannot be shown unless you verify your age.Please verify that you are over 18 to see this page

Terms & Conditions

Yodie supplies products listed on the Yodie, and Yodie websites, and in our stores under the following Terms and Conditions. Please read these Terms and Conditions, and our Privacy and Cookie Policies carefully before using any of our websites, or ordering from us.

The Terms and Conditions apply to your use of any Yodie website and to any products you purchase from them; regardless of how you access the website, including any technologies or devices where our website is available to you at home, on the move or in store

We reserve the right to update these Terms and Conditions at any time, and any updates affecting you or your purchases will be notified to you, by us in writing (via email), and on this page.

The headings in these Conditions are for convenience only and shall not affect their interpretation.

We recommend that you print and keep a copy of these Terms and Conditions for your future reference...

BEFORE YOU
LEAVE...

Take 15% off your first order
Enter the code: CODE15OFF

Recommended